Monday, August 23, 2010

Wheel Well Respray

The respray madness continues. Empowered by the fumes, and a separate can of gloss black, I attacked the wheel wells with a vengeance. I couldn't be happier with the results! The spray went on nice and easy and didn't put up much of a fuss. I had considered spraying an undercoat in these areas, though others have said it's unholy. To remove undercoat is a pain. I guess what swayed me to paint was that they were in generally such good shape that I though undercoat would be too excessive.

Passenger Side Rear
Driver Side Rear

Passenger Side Front


Driver Side Front

I have also included pictures of the wheel wells with the tires on, as that will be how they are seen most of the time. I plan to respray under the bonnet but I was able to fend off the madness and stop for the day. This was pretty impressive as I still have paint in the can. I'm sure that it would have fizzled out just at starting the next section...

Passenger Side Front
Passenger Side Rear

Driver Side Front

Driver Side Rear

Spray Can MADNESS!

Once I began spraying it was a magical transformation. I couldn't control myself and I kept spraying more and more and more. I was really upset with the bad can, and it cost me critical time. I had to remove everything from the trunk and carefully clean out the inside. Once it was apparent that I wouldn't be spraying the trunk, I had lost too much time and had to pack the car back for the day. So everything had to be carefully placed back in the trunk.

In the next weeks visitation, I quickly went to work. I removed everything out again and cleaned it all up again. It's amazing how quickly the dust accumulates even when covered. I began spraying.

Driver Side

Passenger Side
I am quite please with the results. Though far from perfect, pretty much everything will be covered so there isn't too much to worry about. In the confined area of the trunk, the fumes hung very heavy and I has to step away several time as, though quite nice feeling at the time, the fumes will leave you with a killer head-ache if you take in too much of them.


Emboldened by the results, or fogged by the paint fumes, I proceeded to spray the back of the compartment. I wanted to meet up with the floorboards but the can quickly decided it had produced enough. Looks like it's time to get a few more cans. It would have been smart to buy more than a can at a time, but then again I didn't. Draw from that any conclusions you wish.


Floorboard Time

Along the theme of time stabilization, I present to you the floorboards. Considering that I have had them exposed for several months, the floorboards seemed to be resisting the urge to rust over. Well, then came the storms. Repeated days and days of rain brought humidity and a leak in the roof brought water into contact with the floor pans. Though the car was covered with a Katrina Tarp and, true to it's nature, it will allow water through it.

Drivers Side

After hitting it with the wire brush one more time and blowing it out, I sprayed this section. Overall, it looks great, even better than this picture shows. The particles of debris are from the other side of the car. The paint had time to dry so this should be pretty easy to blow out of the car.

Passenger Side
True to the nature of things, I budgeted one spray car for the rocker panels and the floorboards. That means that I ran out just before completing this task. The gray was a primer that was used to close the gap till I got another can. I went and got another can that covered this section up. On moving to the next area, I pressed the sprayer and it went pst, and nothing... I returned the can and got another one. They said I didn't shake it enough! Well after 2-3 minutes of shaking, I felt like my arm was doing to fall off.


Drivers Side
The replacement panels are a bit of a conundrum. They appear to be thicker metal than original, but are definitely the correct shape. The rust was significant and deep, but seems not to have harmed the integrity of the metal. Again, the debris was blown from the other side of the car after the paint dried.

Passenger Side
This is the reason for the stabilization work. The roof leak dropped water on the tarp. The tarp allowed water to drip onto this area and quickly developed a lot of rust. Much more so than I thought was OK. I again brushed the area to remove the rust and sprayed the area to give it some degree of protection. A week later, the leak is still there, water is still dripping on this spot, but it is now a dried up spot on the paint rather than a festering wound.

Friday, August 20, 2010

Wheel Wells

I have gone back through my pictures and found a set I haven't published yet! Sometimes I present the problems, but not the better items. So now I present one of the better shape parts of the car.
Passenger Side Rear

I don't have a good before picture of this area, but this is it after brushing it with a wire wheel. Considering it's exposure to rocks, dirt and mud, it's in pretty good shape.
Driver Side Rear
Though it looks rough, it's mostly dirt, grime, and overspray. Again attacked with a wire wheel and...

It looks spectacular!

Passenger Side Front
Definitely worse for the ware and re-painting by PO. No amount of brushing seemed to do much to this. Though the rusty bits are removed.

Driver Side Front
This is a before shot. Not too much rust but it looks bad. Brushing again didn't leave good results, other than removing the rust.

Overall I am happy with the wheel wells, as there are no rust though on them except where the rear meets the fenders as described in the rocker panel posts. The plan is to respray them black.

Time Stablization

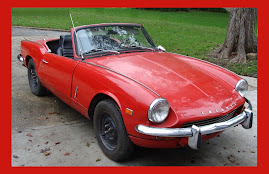
This may sound like a funny title, but it does describe my situation. I am getting caught up in work and real life. I would like to be spending time during the rabid summer heat driving the Spitfire, but instead I am in a holding pattern waiting for the welder to get the time to do this side work. It's tough for me to wait. With life taking more and more of my "free" time to work on the car I have to be careful not to allow too much time to slip on certain items.

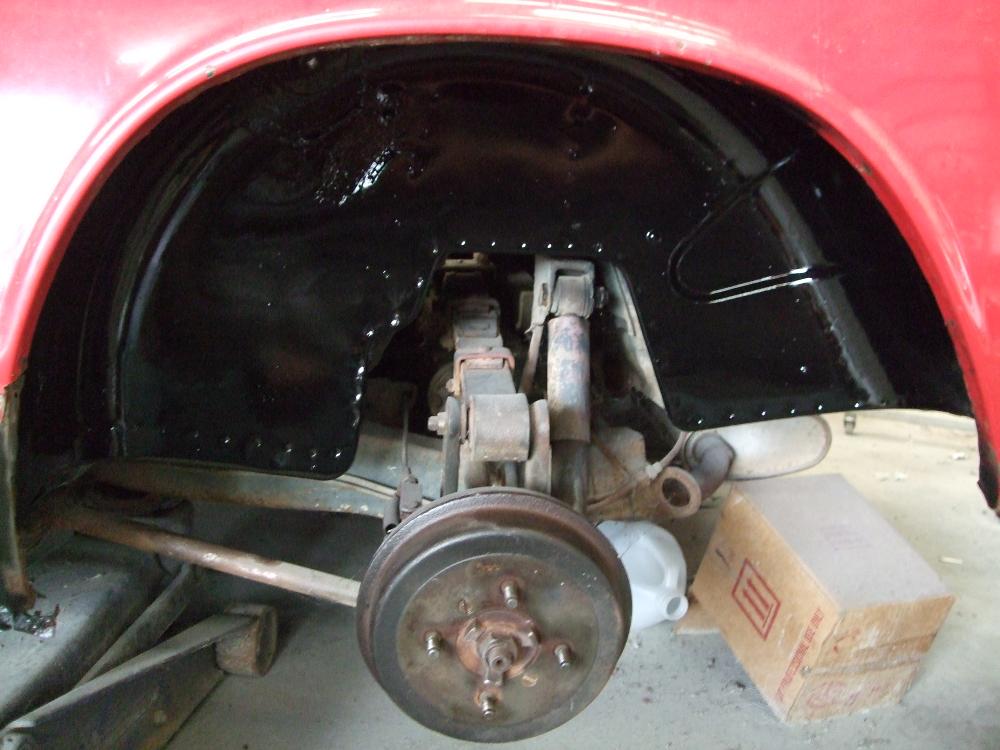
With the rocker panels removed and the rust brushed off, bare metal is left. Exposed to the humidity, it quickly begins to rust again. I can't wait till the welder gets to it, so I got a can of Spray paint and went at it!

Driver Side
After sitting a while, powder rust began to re-appear on the exposed areas. I am really concerned with this area because it has so much rust before and some of the areas have rusted though. I brushed them down again real good and got to work.

Driver Side Painted
I painted over the exposed areas and got in as much as I could into the recessed cavities. Overall, the paint really brings out the flaws in the metal. I will have to sand off the paint on the weld spots, but at least this will keep it intact till I can get it welded.

Passenger Side
I'm anticipating having problems rebuilding by the back fenders, with the metal missing and the curves, it's likely going to be a pain. One positive note though, with the replacement piece, I have what the other side of the curve should be.

Passenger Side Painted
I really wish I wasn't out of town for the BMCNO welding class at Delgado. Maybe I can convince someone to come and help me if I can't get it done sooner... I can't say enough about the BMCNO club. Though I havn't participated in any of the drives, for apparent reasons, they have provided me with moral support and are a friendly bunch. It's always nice to have a sympathetic ear as you discuss British car's issues.